| Project Permissions | Owner | Admin | Developer |
|---|---|---|---|
| Deploy and manage instances | true | true | true |
| Create and manage volumes | true | true | true |
| View auto top-up settings | true | true | true |
| View balance, currency, usage rate, remaining time | true | true | true |
| Edit auto top-up settings | true | true | false |
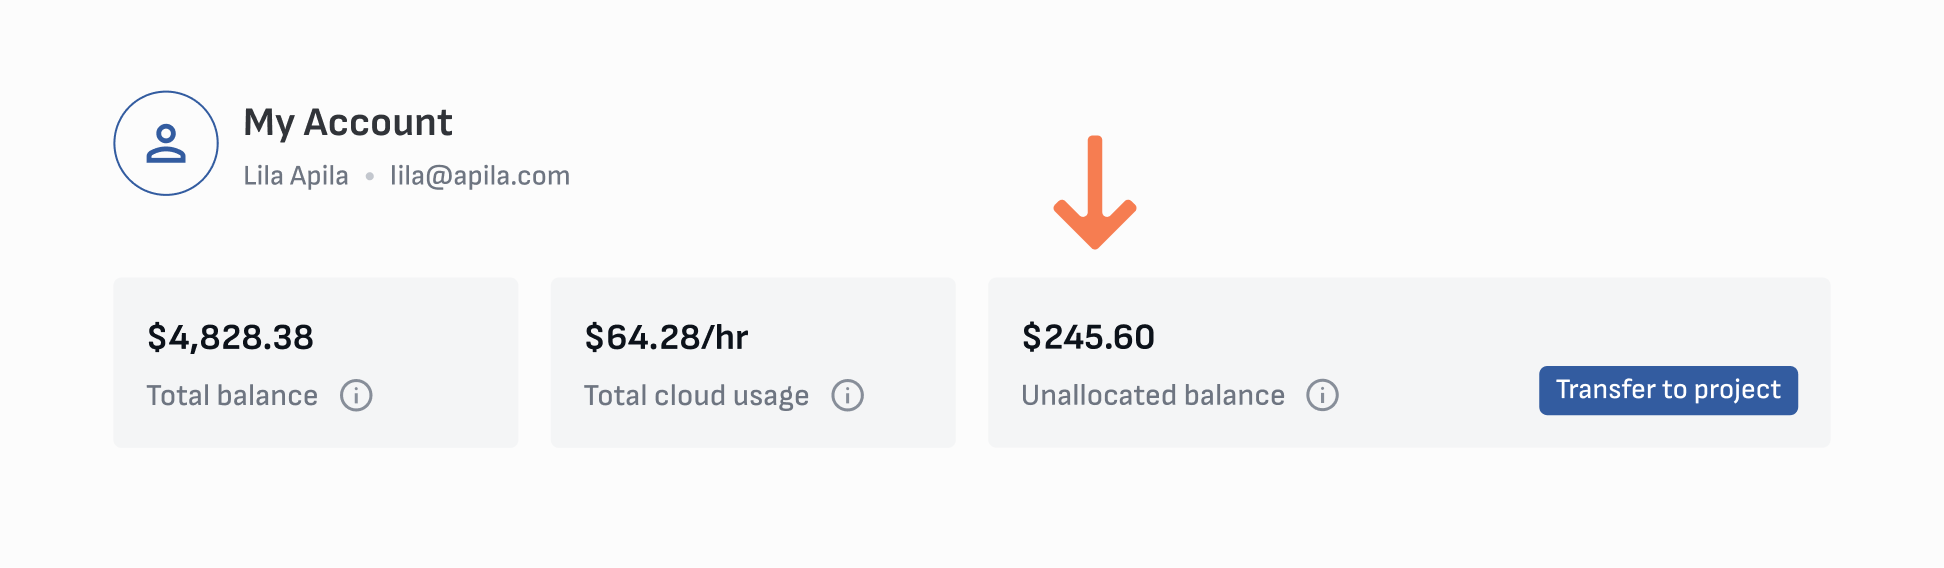
| Top-up project balance | true | true | false |
| View billing details (name, address, VAT) | true | true | false |
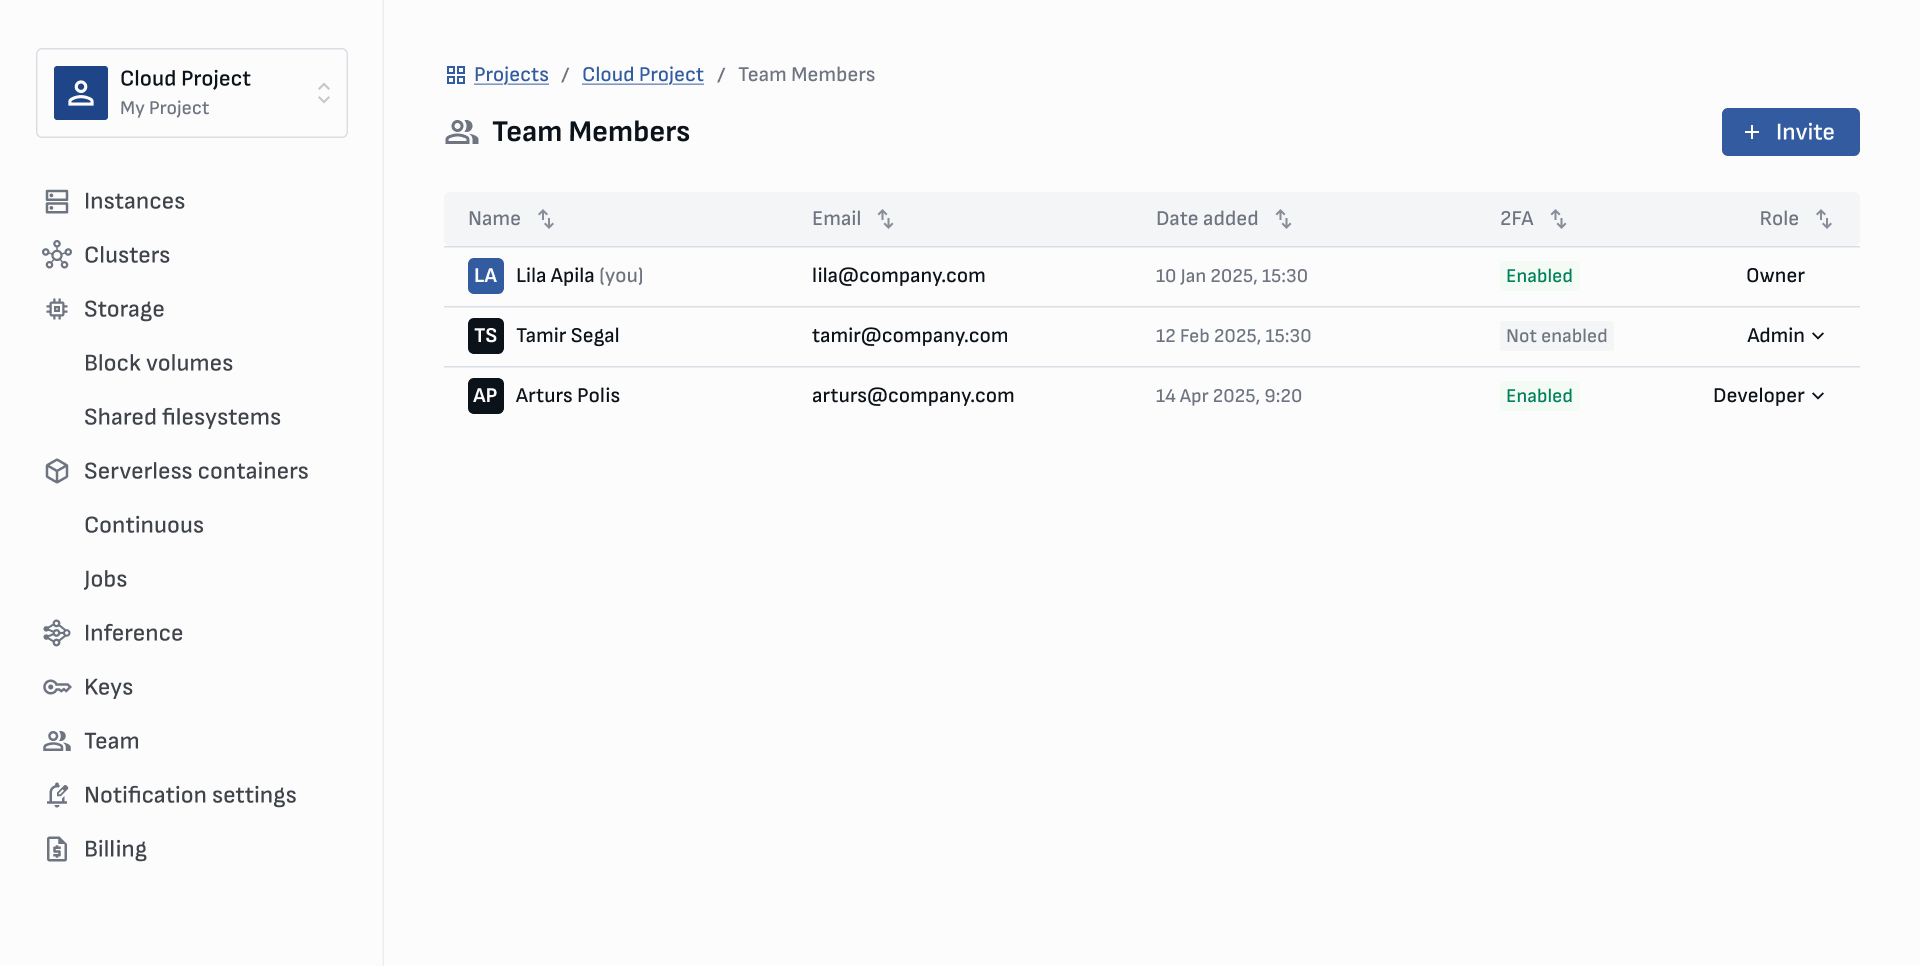
| Invite team members | true | true | false |
| Change team member roles | true | true | false |
| Transfer resources between projects | true | true | false |
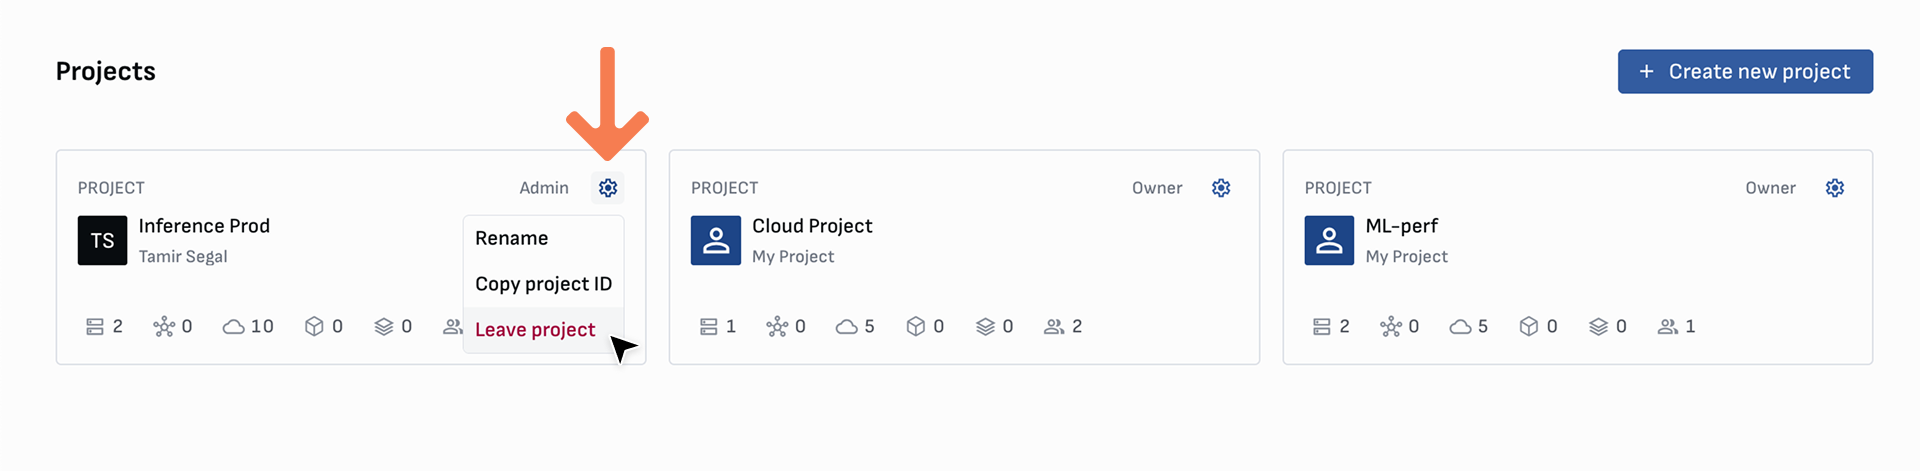
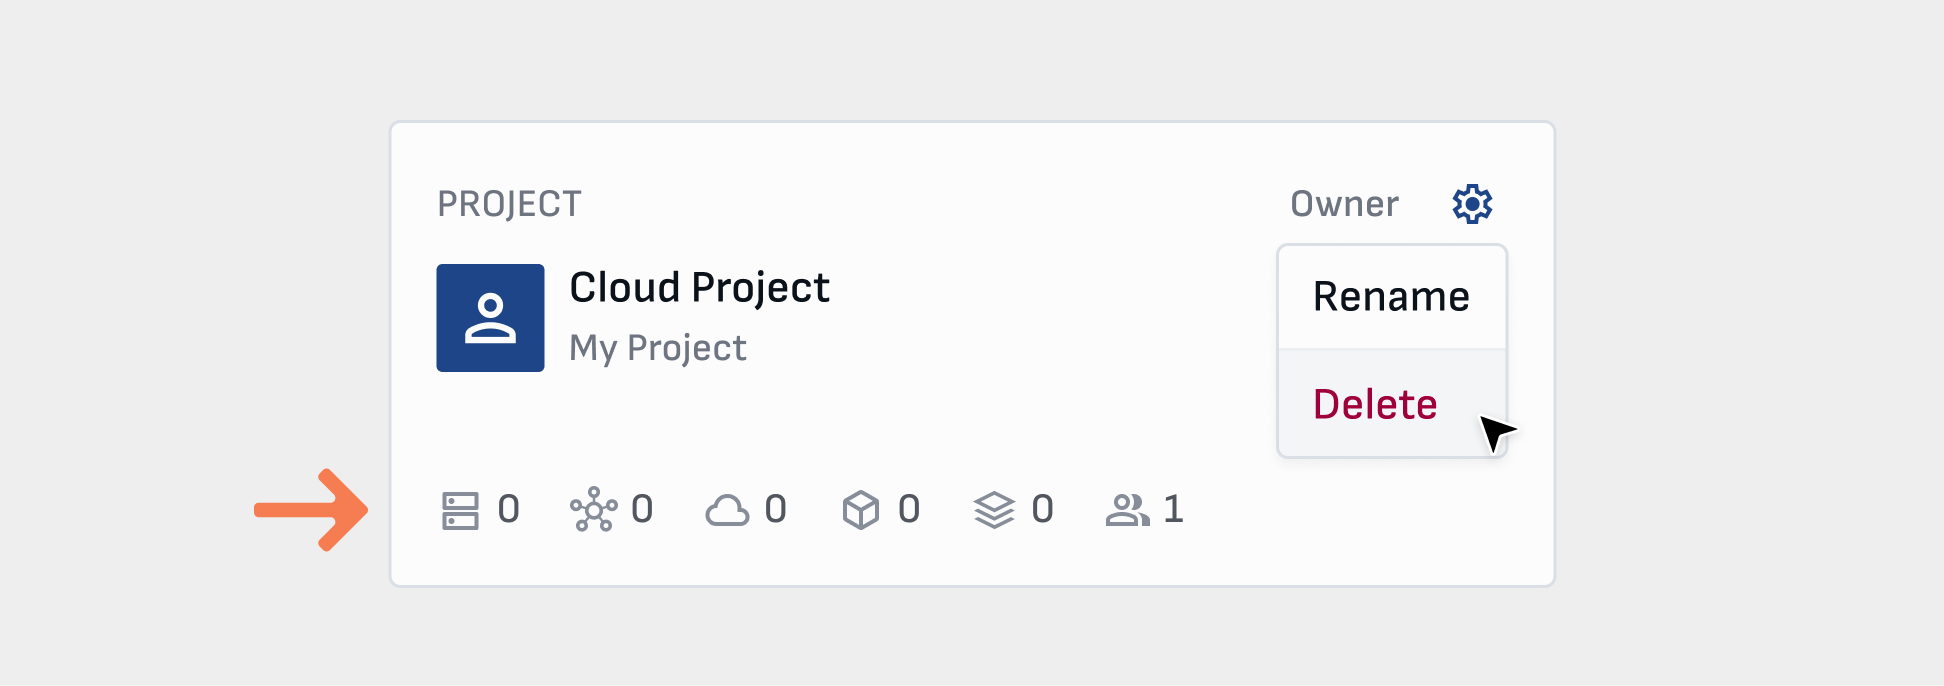
| Rename project | true | true | false |
| Change default payment card | true | true | false |
| Edit billing details | true | false | false |
| Add/delete payment card | true | false | false |
| Transfer funds between projects | true | false | false |
| Delete project | true | false | false |
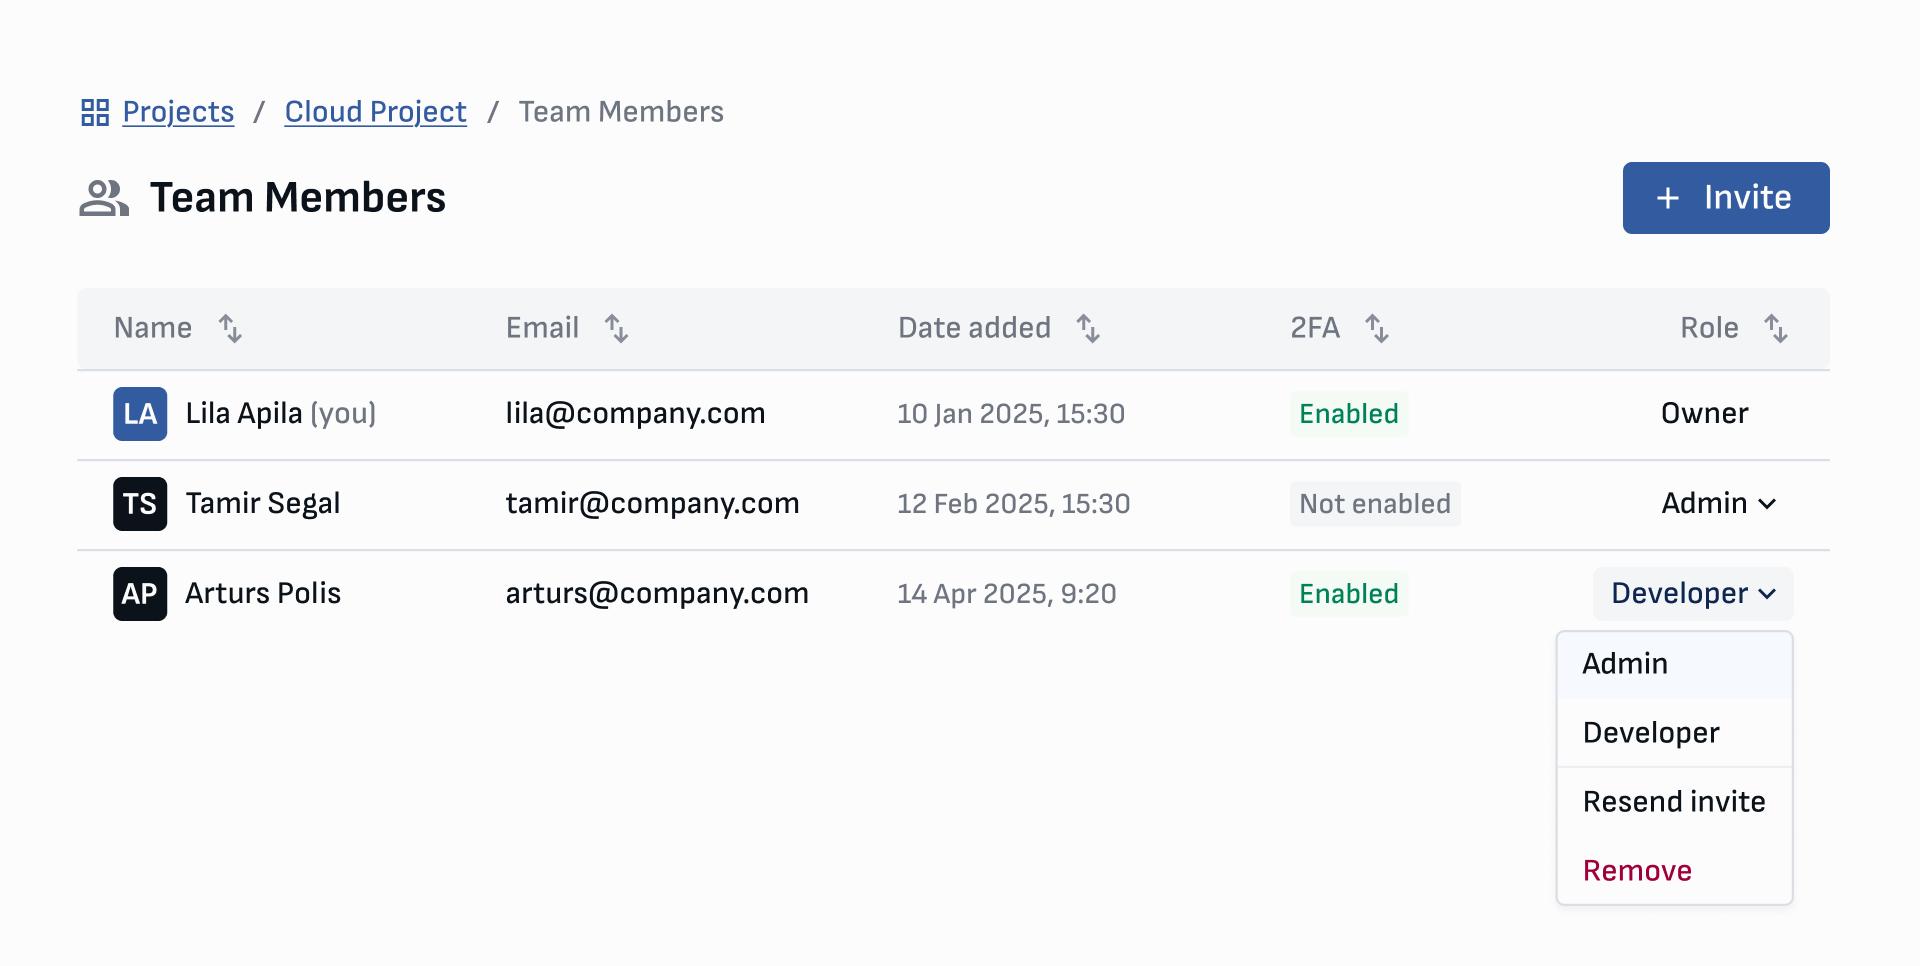
Change role or remove team members